Slide 3 of 3
Your Browser Is No Longer Supported. Please use an alternative browser to improve your experience and security.

How to Quickly Brine a Turkey with a Vacuum Sealer for a Juicy Thanksgiving Feast
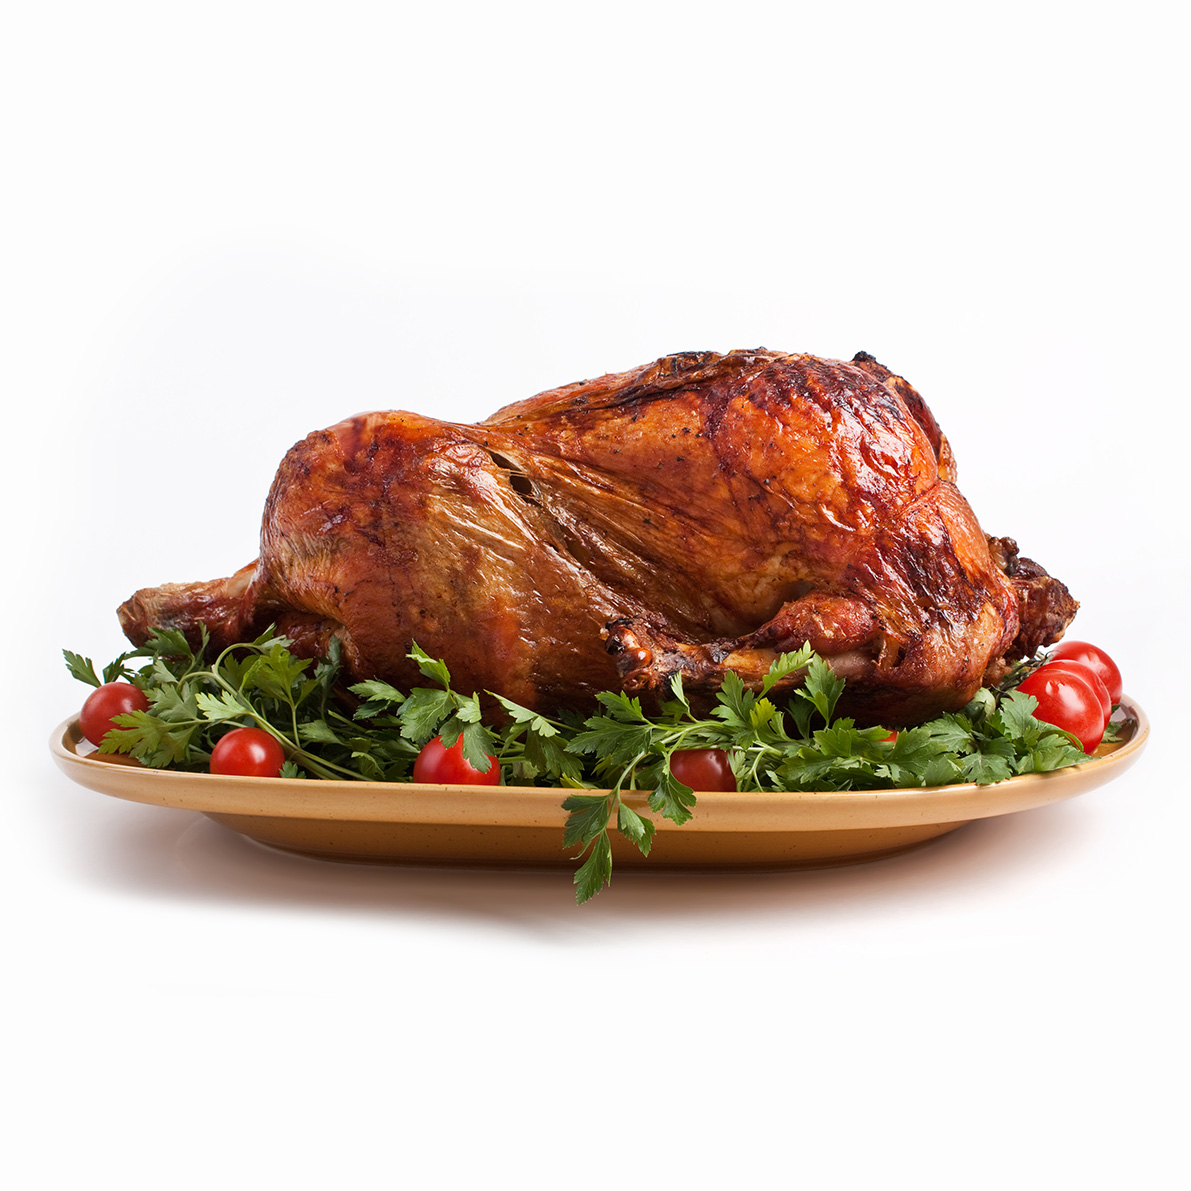
Learning how to brine a turkey is key if you want the bird moist and well-seasoned. For Thanksgiving hosts, mastering this technique can mean the difference between a bird that dries out quickly and one that stays juicy and flavorful from the first slice to the last.
Rather than leaving the turkey to soak unevenly in a large container, using a vacuum sealer helps the brine make full contact with the meat, promoting more consistent flavor absorption and reducing overall brining time. The result is a more consistent flavor throughout, with a process that’s faster and neater than traditional brining.
Traditional brining requires a large container, plenty of fridge space, and often a full day of soaking. By comparison, vacuum sealing shortens the timeline and keeps everything neatly contained, making it easier to manage during the busiest cooking week of the year.
What Brining Does (and Why It Matters)
Brining allows salt to move into the muscle fibers of the turkey, helping the bird hold on to more moisture during cooking. It also distributes flavor more evenly, especially when paired with herbs, spices, and citrus. The result is meat that stays tender, juicy, and seasoned throughout, not just on the surface.
Brining also improves texture. The salt in the solution changes the protein structure of the meat, which is why a properly brined turkey carves more easily and has a softer bite. It’s a technique trusted by both professional chefs and home cooks for large roasts and poultry.
While the traditional approach works, it takes time and space—two things that are often in short supply during the holidays. Vacuum sealing makes the brine more effective in less time and with less mess.
Why Vacuum Sealing Works Well for Brining
Traditional brining can feel like a balancing act: finding a container big enough, ensuring the brine fully covers the bird, and then making space for it in the refrigerator. Vacuum sealing removes these challenges by creating a sealed environment around the turkey and brine, eliminating the need for oversized containers.
By removing air from the bag, the brine stays in direct contact with the turkey, which can help flavors infuse more quickly and evenly. It also keeps everything sealed neatly, with no spills or bulky containers to manage.
Other advantages include:
- Reducing brining time—often from 12–24 hours to about 4–6 hours for a medium-sized turkey
- Saving valuable fridge or cooler space
- Containing mess and minimizing cleanup
- Reducing waste when using customizable sealing rolls
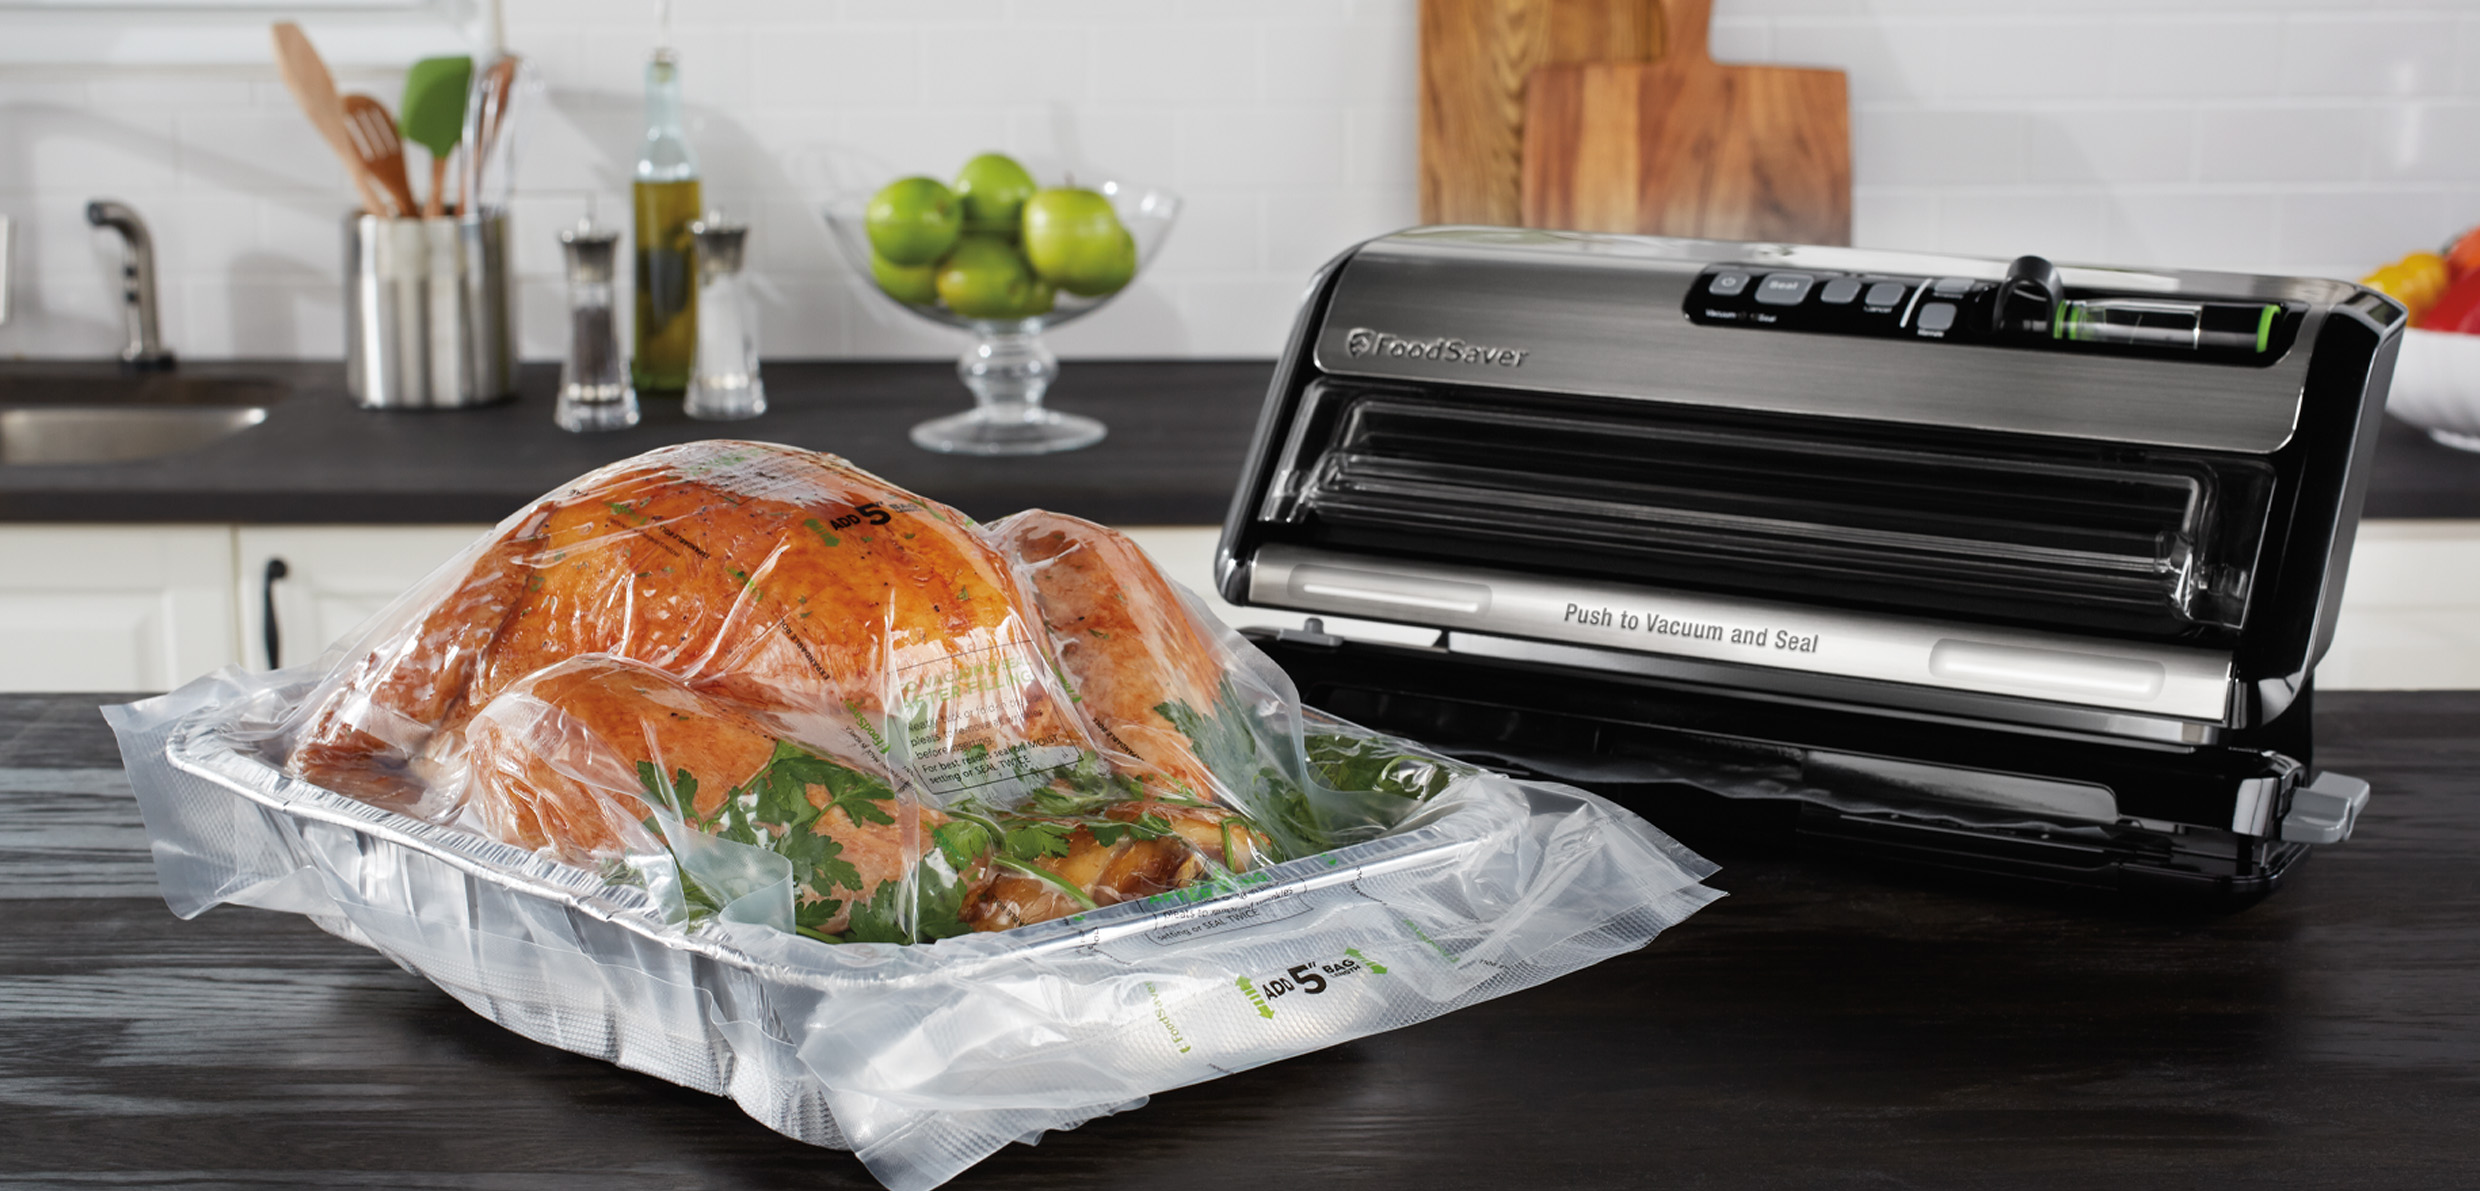
Some home cooks prefer vacuum sealers with built-in bag cutters or expandable rolls for handling large items like whole poultry. The FoodSaver® FM5200 2-in-1 Automatic Vacuum Sealer Machine offers both, along with a handheld sealer and express bag maker. Others use bags designed for wet foods to avoid leaks. Either way, vacuum sealing gives you more control over the process and the result.
Brining Basics: What to Include
A good brine doesn’t need to be complex. The goal is to balance seasoning, moisture retention, and flavor depth so the turkey tastes as good on the inside as it looks on the outside.
Core elements include:
- Salt: The foundation of any brine; essential for moisture retention
- Sugar: A key ingredient that adds sweetness and supports browning during roasting
- Aromatics: Garlic, bay leaves, citrus zest, peppercorns, or fresh herbs
- Cold Liquid: Usually water or broth, which dissolves the ingredients and carries them into the meat
Traditional brining typically involves fully submerging a large turkey in a heavy container of liquid for 12–24 hours. It works, but it takes up space and can be messy. Vacuum sealing keeps the same essential ingredients in close contact with the meat, producing comparable results in far less time.
How to Brine a Turkey with a Vacuum Sealer: Step-by-Step
Vacuum sealing makes brining dramatically faster, potentially reducing the time from a full day to just a few hours. It also keeps the turkey sealed and easy to store, which matters when fridge space is limited.
If you’re learning how to brine a turkey for the first time, this method is straightforward and efficient:
- Prepare the brine Mix salt, sugar, and aromatics with warm water until dissolved. Let the mixture cool completely before using, as it’s important for both safety and effectiveness.
- Choose the right bag Use a vacuum seal roll or expandable bag large enough to hold the turkey without cutting it into parts. The FoodSaver® 11" x 16' Expandable Vacuum Seal Roll is ideal for whole birds, roasts, or irregular shapes.
- Place the turkey in the bag Insert the turkey, leaving the cavity open so the brine can circulate inside as well as outside.
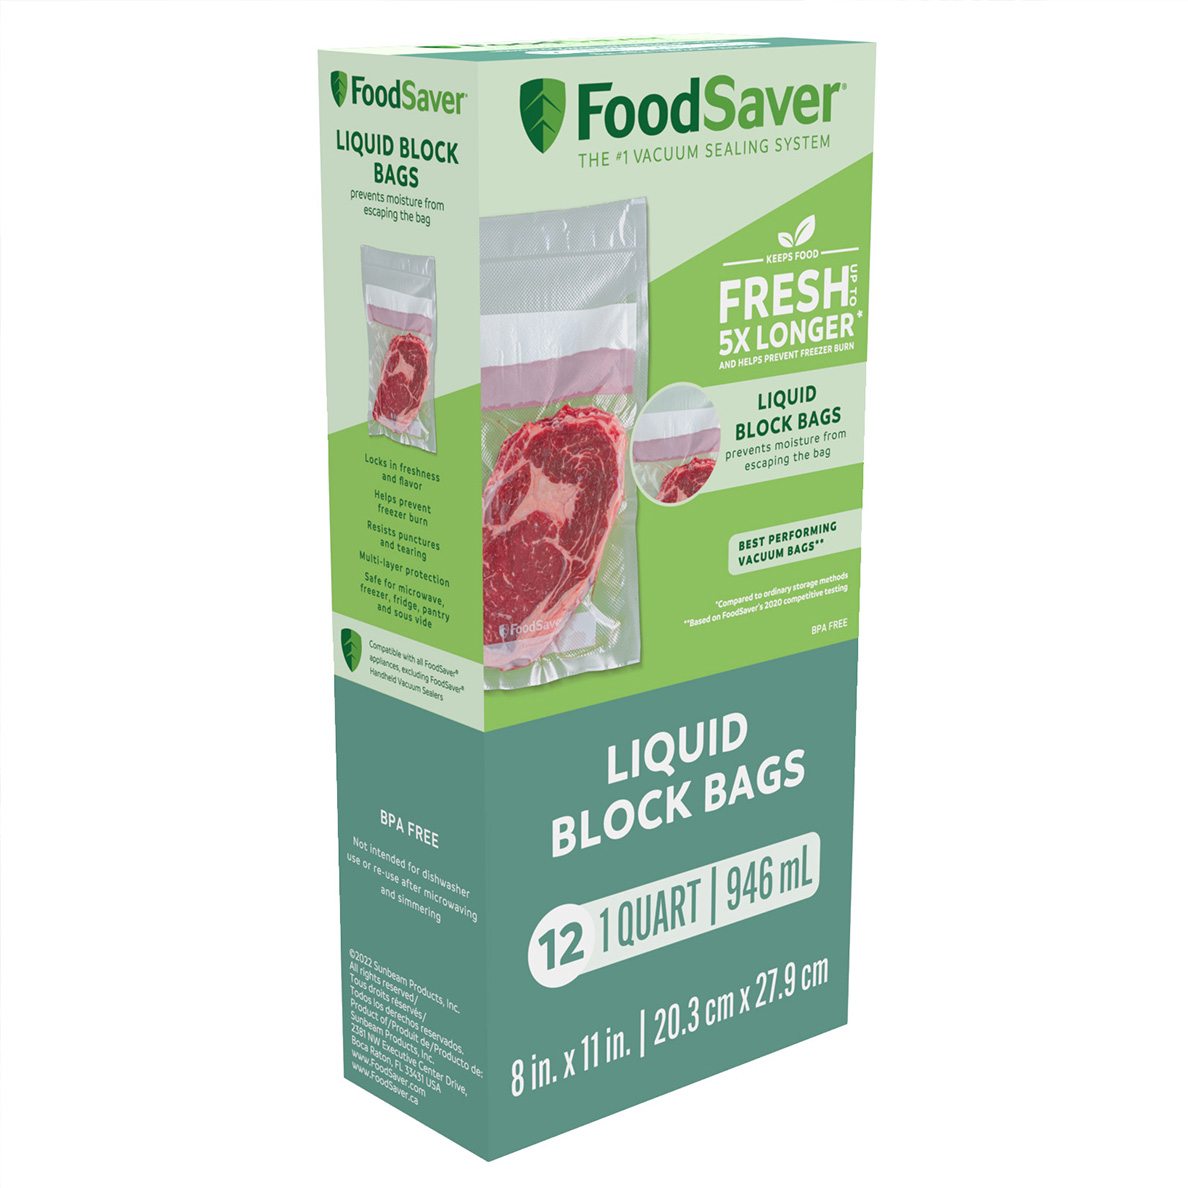
- Add the cooled brine Carefully pour the liquid into the bag until the turkey is surrounded. FoodSaver® Liquid Block Vacuum Seal Bags prevent leaks while maintaining a strong seal.
- Seal using vacuum pressure Vacuum out the air to create a tight seal. The vacuum environment helps the brine penetrate more efficiently, encouraging faster flavor infusion.
- Refrigerate for 4 to 6 hours That’s all it takes. The sealed environment accelerates absorption, so the turkey is ready in a fraction of the usual time.
- Remove, rinse, and dry Cut open the bag, rinse the turkey to remove excess salt, and pat it dry. You’re ready to roast, smoke, or fry the same day. No overnight waiting required.
This method is faster than traditional brining, saves fridge space, and keeps everything sealed neatly without the hassle of buckets or coolers. It is also why vacuum sealing is often used for quick marinating as well as brining.
Other Ways to Use a Vacuum Sealer This Holiday Season
Vacuum sealers aren’t just helpful for brining. They’re also useful throughout the holidays when kitchens are busiest. Many people use them to:
- Store leftovers so they last longer
- Prep casseroles or desserts ahead of time
- Keep herbs and garnishes fresh
- Portion raw ingredients for freezing
Some systems include handheld sealers for quick use with containers and zipper bags, while others have built-in bag makers or expandable rolls for handling larger foods. This versatility makes them useful during the holidays and for everyday vacuum sealing for meal prep and storage.
Serve Tender Thanksgiving Turkey Without the Wait
Brining doesn’t have to be complicated or time-consuming. With the right approach and equipment, you can cut the process down to just a few hours and still serve a turkey that’s juicy, tender, and fully seasoned in time for the holiday meal.
For anyone looking to simplify Thanksgiving prep without sacrificing flavor, a vacuum sealer is a tool worth adding to your kitchen. Discover how FoodSaver® vacuum sealers and accessories can help you brine, prep, and store food more efficiently—so you can spend less time managing the meal and more time enjoying it.
Whether you’re tackling Thanksgiving or everyday leftovers, the right tools make all the difference.
Frequently Asked Questions
Can I brine smaller cuts instead of a whole turkey?
Yes. If you're cooking for a smaller group or want to try different brines for separate parts, you can brine turkey breasts, legs, or wings individually. Just use leak-resistant bags designed for moist foods.
How long should I brine a vacuum-sealed turkey brine?
In most cases, 4 to 6 hours is enough for a medium-sized turkey (10-14 pounds), but larger birds may need more time. The vacuum-sealed environment helps speed up absorption, so you don’t need to leave it overnight.
Can I freeze the turkey after brining?
Yes. After brining, rinse and dry the turkey, then vacuum seal it again (this time without liquid) and freeze. This is a convenient way to prep days ahead of Thanksgiving, though freezing may slightly soften the texture.
Do I need to adjust seasoning after brining?
Often, yes. After brining, go light on extra salt. Instead, layer flavor with herbs, butter, or citrus for the best balance.
What kind of vacuum sealer works best for this?
Look for models with expandable rolls or wide sealing strips for large items. Machines with built-in bag cutters or moist-food modes are also helpful. The FoodSaver® FM5200 is one example that handles both dry and moist foods effectively.